Stock Android/Samsung Email
How to for adding epbfi.com email addresses to the Stock Android or Samsung Email app
Adding an email to the app
First Time Setup
If no email is setup you will not see the first three steps.
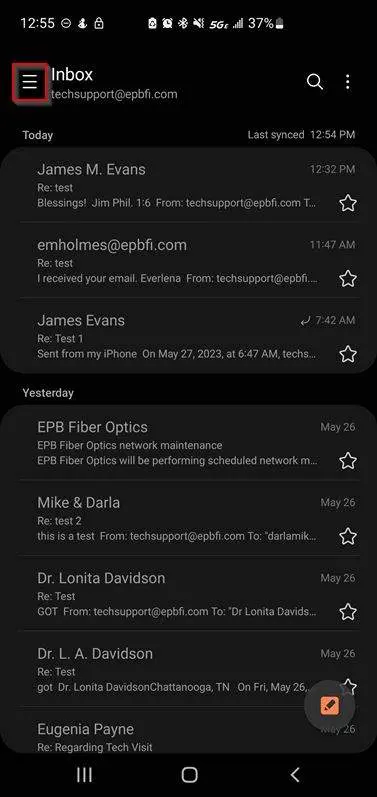
Click the lines on the top left
Click on the settings wheel
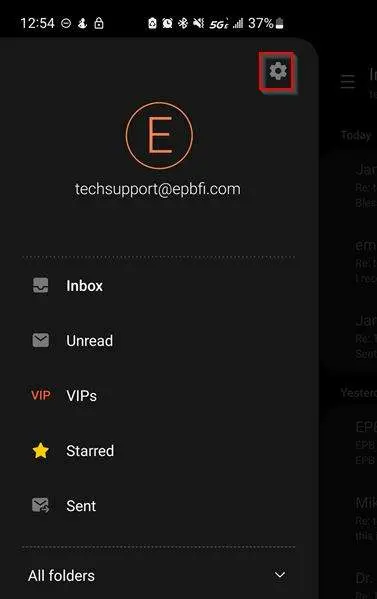
Click add account
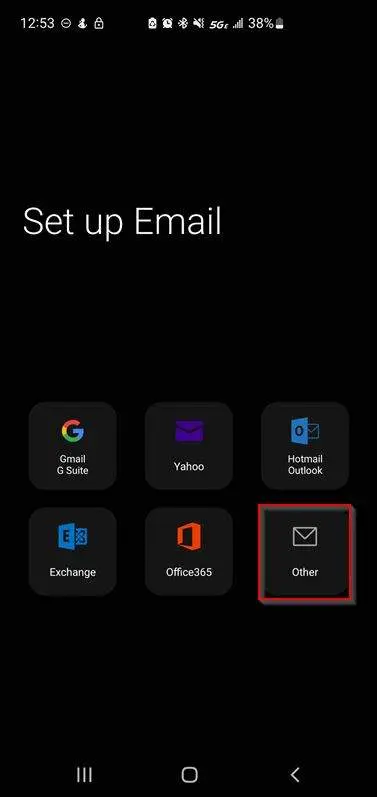
Choose account provider
Click other
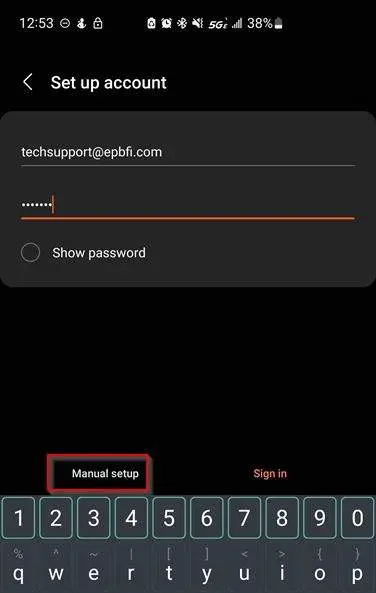
Provide email info
- Enter the email address and password
- Click Manual Setup.
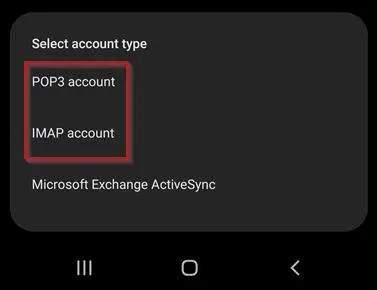
Set Account Type at bottom. (IMAP preferred), POP3 will also work.
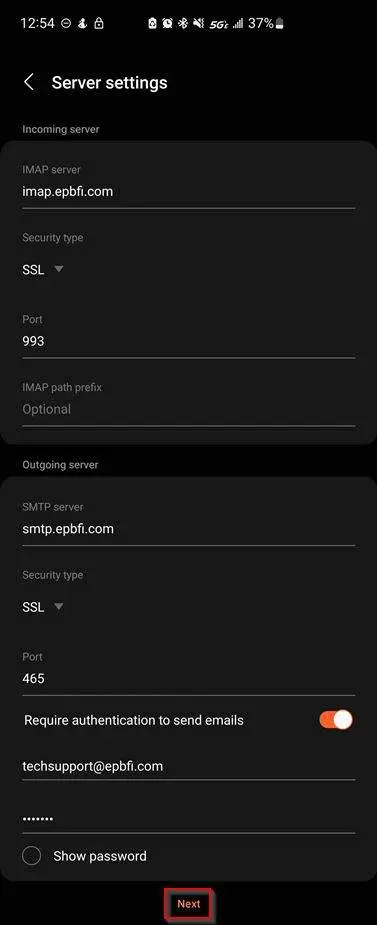
Set server settings
You'll need to scroll down a little to see the incoming and outgoing settings.
- Enter the incoming server host name.
- Set the security type.
- Set the port.
- {variant:"solid" color="netural" label="IMAP only"} Path prefix is blank (or saying optional).
- Enter the outgoing server host name.
- Set the security type.
- Set the port.
- Turn on require authentication to send emails.
- If it doesn't fill it in automatically, enter the email address and password.
- Click Next at the bottom.
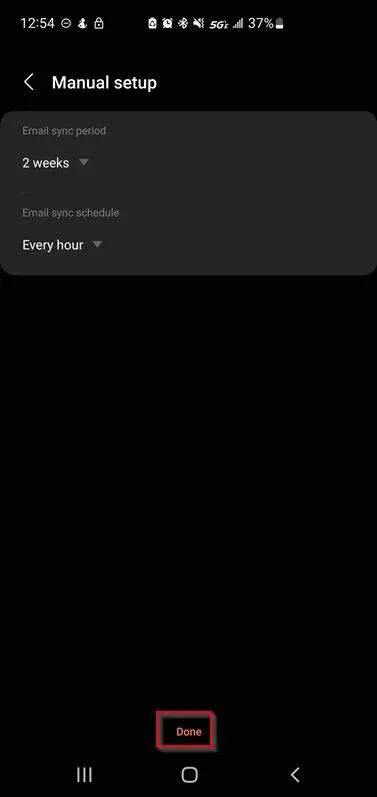
Enter the sync settings
These settings are entirely up to the customer's preference.
Click next once set.
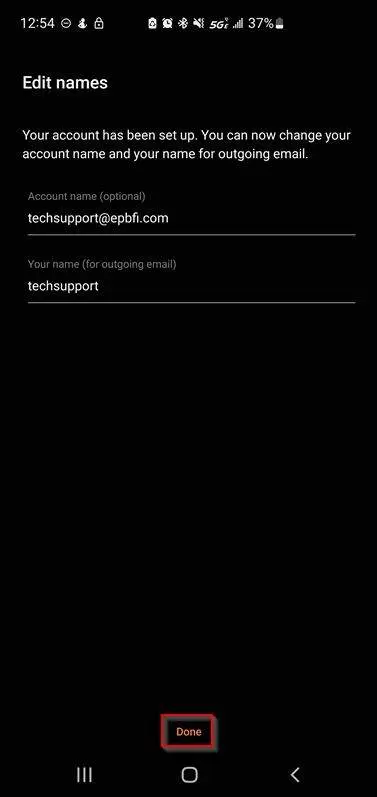
Enter the display settings
These settings are entirely up to the customer's preference.
- Account name is how it shows up on the list of emails (the first thing we clicked on).
- Your name is what people see when they get an email from you instead of just your email address.
- Click Done at the bottom.
Update Password
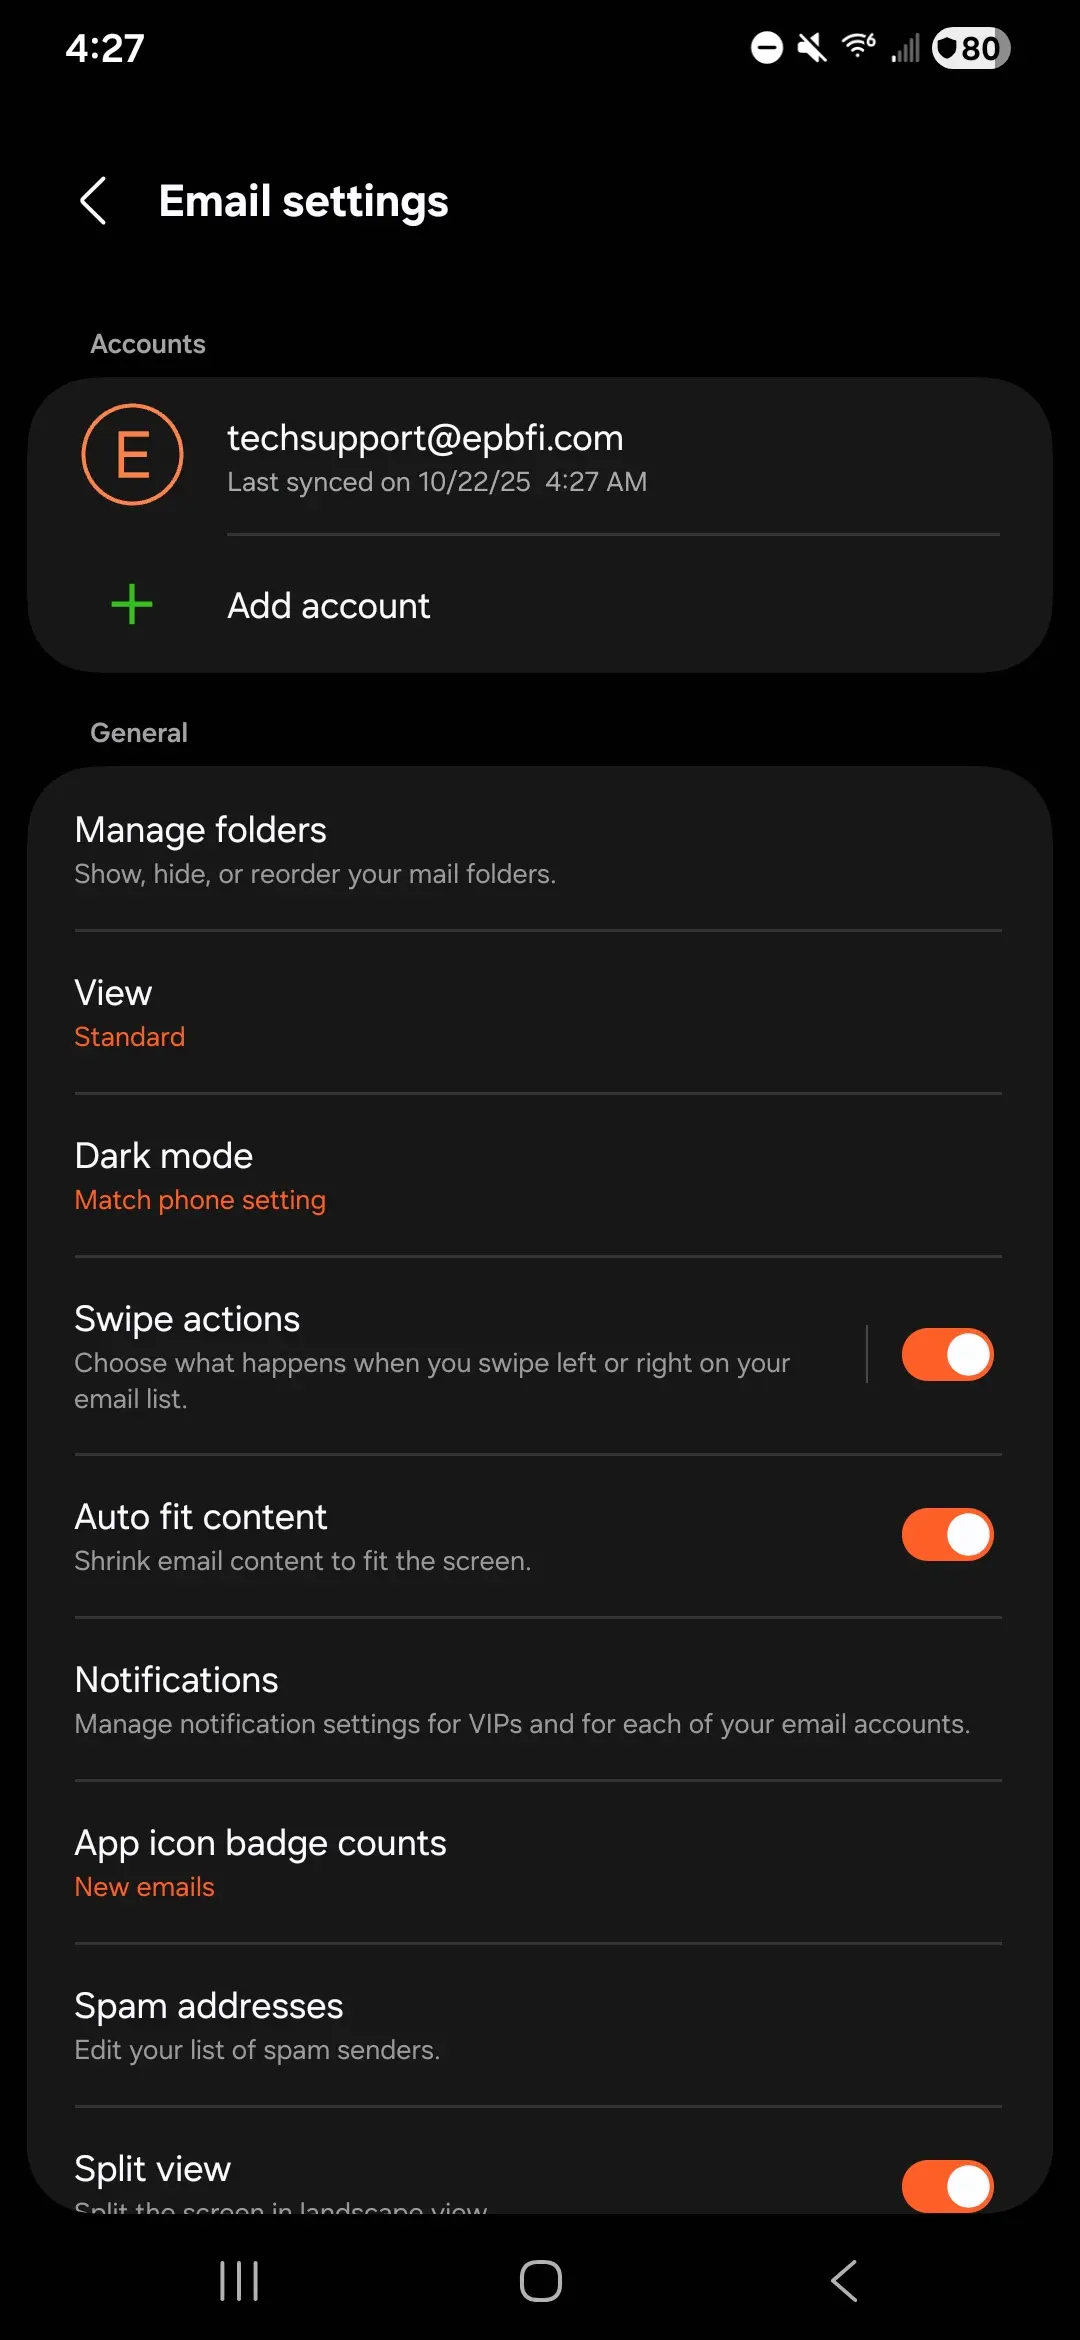
Click the three lines on the left.
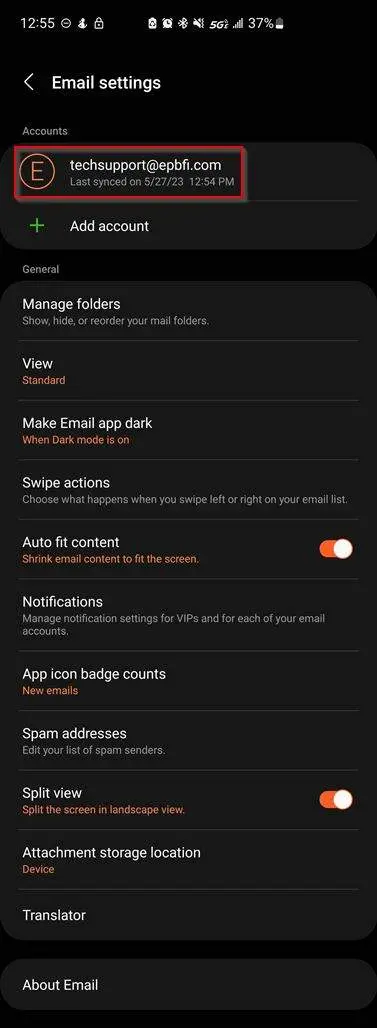
Open email settings. (Gear icon top right of list)
Choose the EPB account.
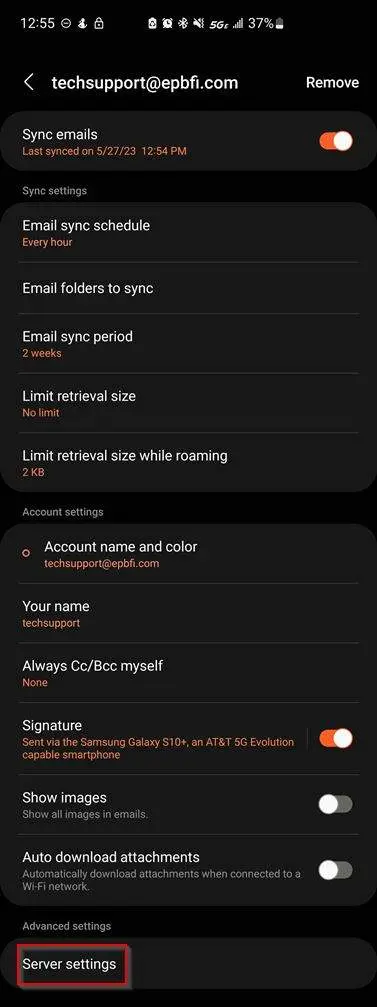
Scroll down, open server settings.
Set server settings
You'll need to scroll down a little to see the incoming and outgoing settings.
- Enter the incoming server host name.
- Set the security type.
- Set the port.
- {variant:"solid" color="netural" label="IMAP only"} Path prefix is blank (or saying optional).
- Enter the outgoing server host name.
- Set the security type.
- Set the port.
- Turn on require authentication to send emails.
- If it doesn't fill it in automatically, enter the email address and password.
- Click Next at the bottom.