Outlook (Paid/365)
How to for adding epbfi.com email addresses to the paid Outlook program
Add New Account
Startup
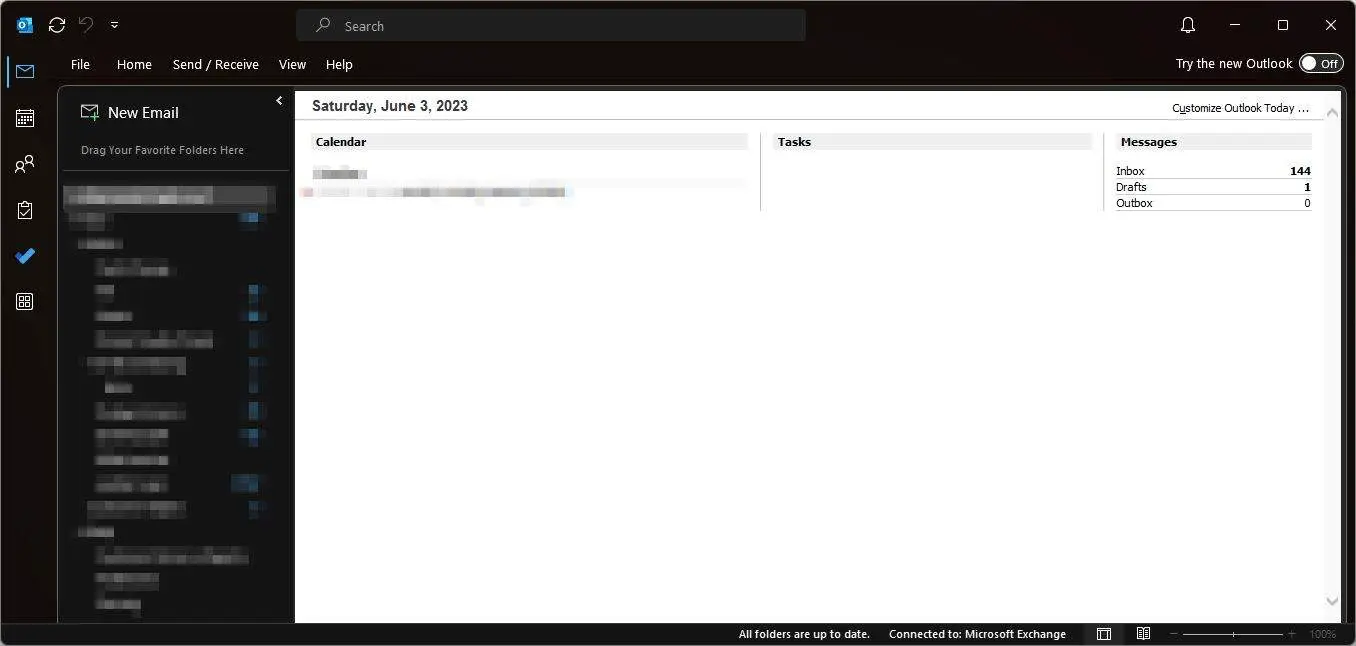
The program starts up looking like this. Click on File at the top left.
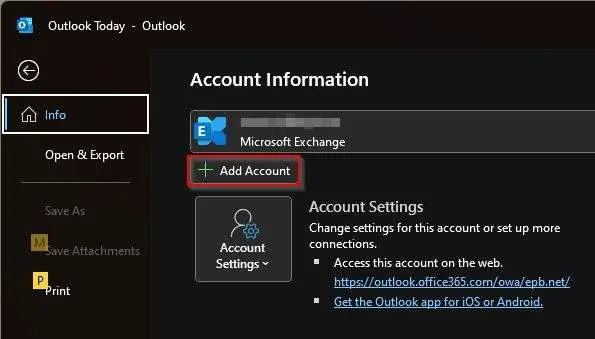
Click on Add Account
You may have to click Home on the left
Click on Add Account under Account Information.
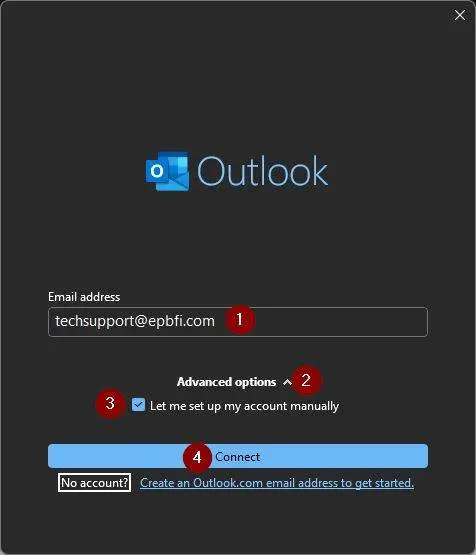
Enter initial info
- Enter the email address.
- Click on Advanced Options
- Check the box for Let me set up my account manually.
- Click Connect.
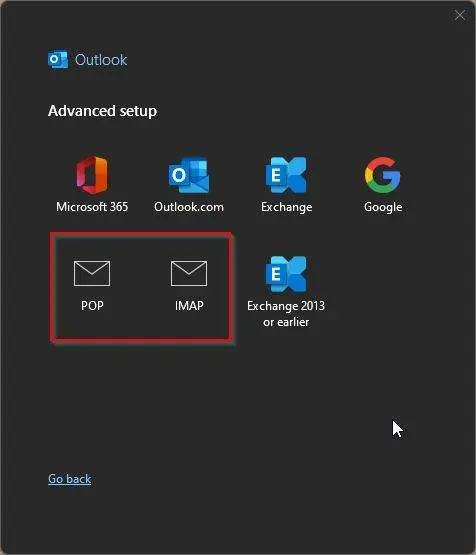
Choose Account Provider/Type
Choose POP or IMAP depending on which you are setting up.
IMAP is preferred.
POP accounts by default will delete emails as it receives them. Resulting in other devices losing emails. You can also have a customer lose all emails if the device corrupts/dies.
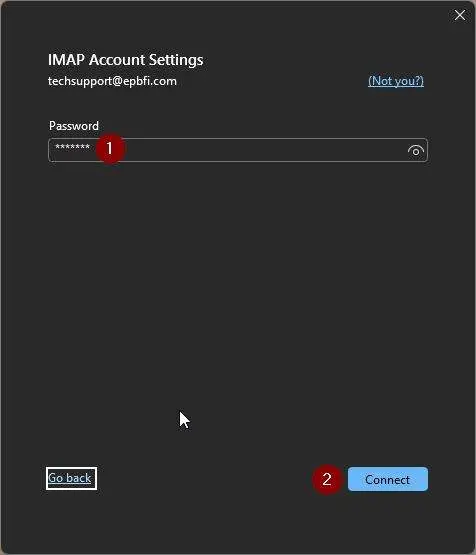
Enter password
Enter the password and click Connect.
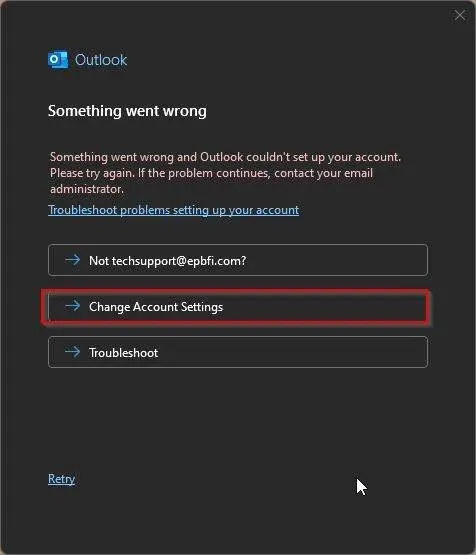
Verification Fails
If it fails to verify at first, it will give you this page. Click Change Account Settings.
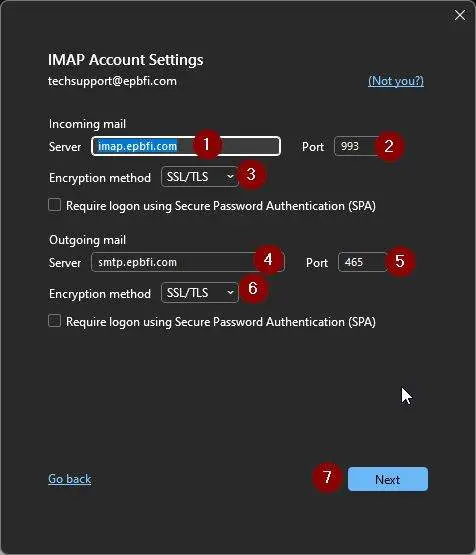
Enter server settings (if failed above)
- Enter the incoming server.
- Enter the incoming port.
- Set the incoming encryption method (SSL usually).
- Set the outgoing server.
- Set the outgoing port.
- Set the outgoing encryption method (SSL usually).
- Click Next.
Verify settings
- Varies If necessary, click File again.
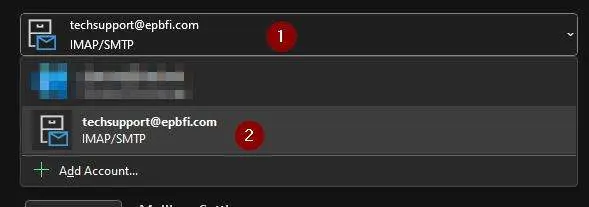
- Click on the accounts list.
- Click on the EPB account.
Go to Account Settings, then Server Settings.
- Click on Account Settings.
- Click on Server Settings.

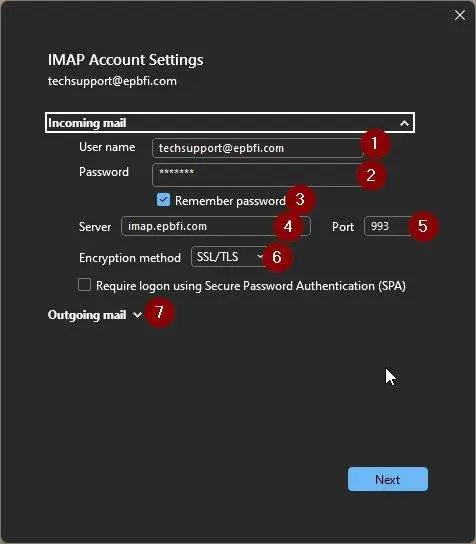
Verify Incoming Settings
- Enter the username.
- Enter the password.
- Check the box to remember password.
- Set the incoming server.
- Set the incoming port.
- Set the incoming encryption method (SSL usually).
- Click Outgoing mail.
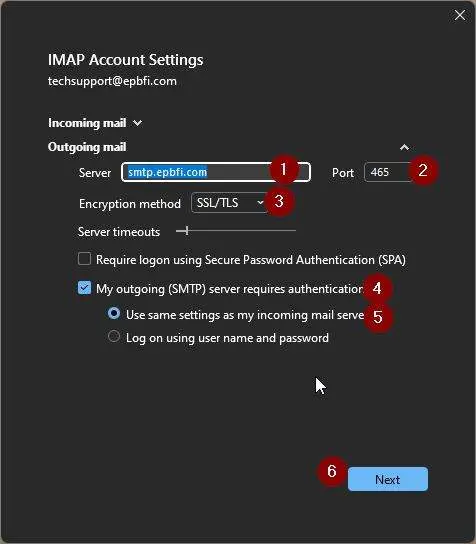
Verify Outgoing Settings
- Set the outgoing server.
- Set the outgoing port.
- Set the outgoing encryption method (SSL usually).
- Check the box for My outgoing server requires authentication.
- Set the circle to Use same settings as my incoming mail server.
- Click Next.
Update Password
Startup
The program starts up looking like this. Click on File at the top left.
Select the account
- Varies If necessary, click File again.
- Click on the accounts list.
- Click on the EPB account.

Go to Account Settings, then Server Settings.
- Click on Account Settings.
- Click on Server Settings.
Verify Incoming Settings
- Enter the username.
- Enter the password.
- Check the box to remember password.
- Set the incoming server.
- Set the incoming port.
- Set the incoming encryption method (SSL usually).
- Click Outgoing mail.
Verify Outgoing Settings
- Set the outgoing server.
- Set the outgoing port.
- Set the outgoing encryption method (SSL usually).
- Check the box for My outgoing server requires authentication.
- Set the circle to Use same settings as my incoming mail server.
- Click Next.
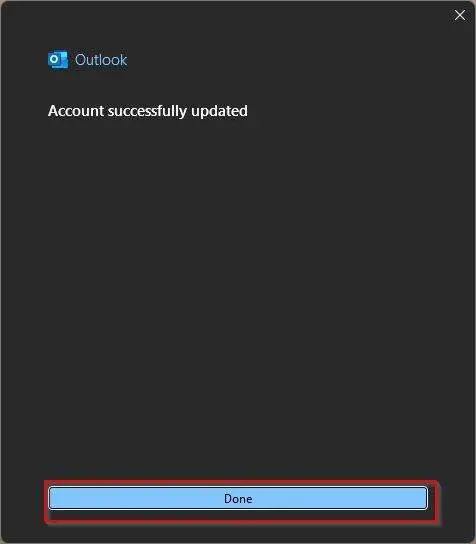
Click Done