Gmail on Android
Setting up Gmail on Android
Add New Account
Startup
The program starts up looking like this.
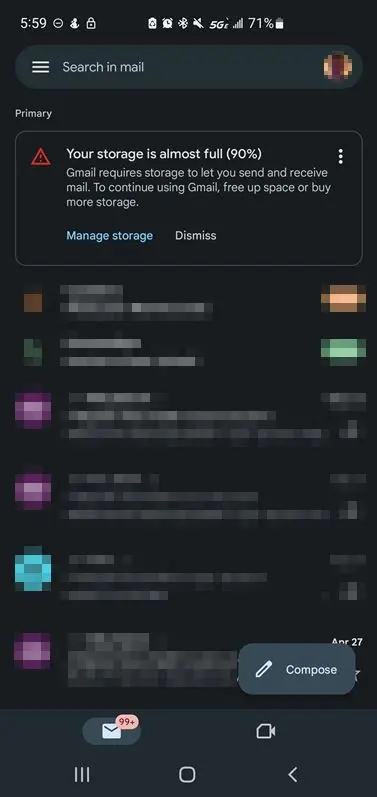
Open the profile/accounts screen.
Go to the top right and click on the circle with their initials OR profile picture.
Click on Add Another Account at the end of the list of accounts.

On the list of providers, choose Other.
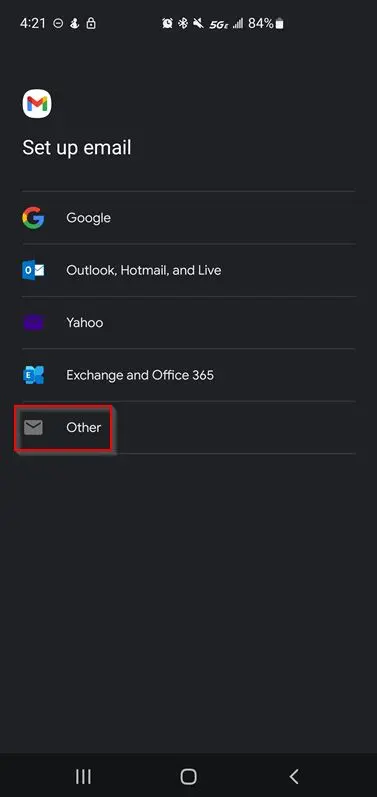
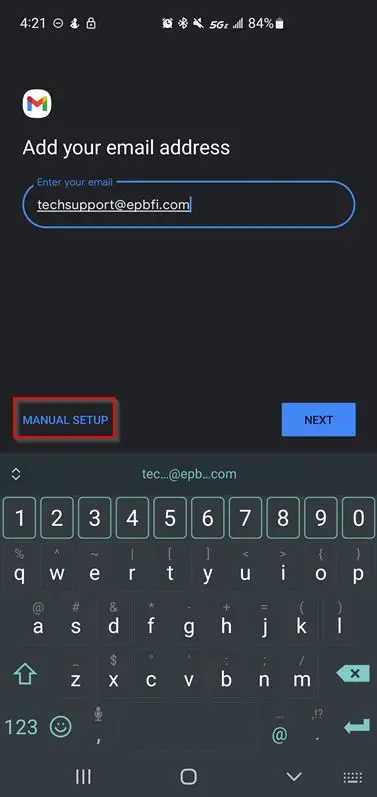
Enter the email address, then choose manual setup.
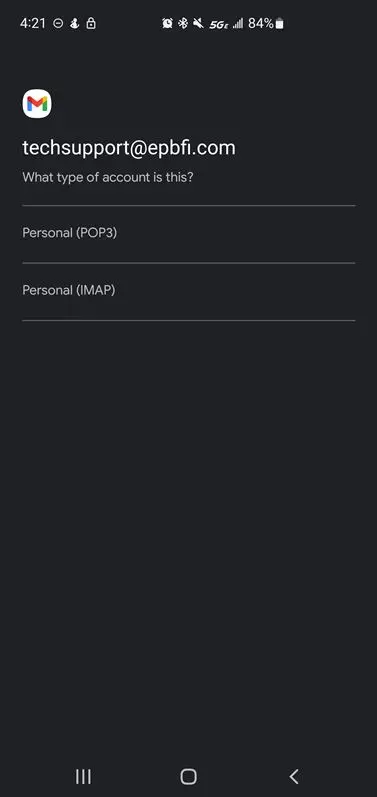
Set the account type.
IMAP is preferred.
POP3 requires special handling to ensure a smooth experience between multiple devices.
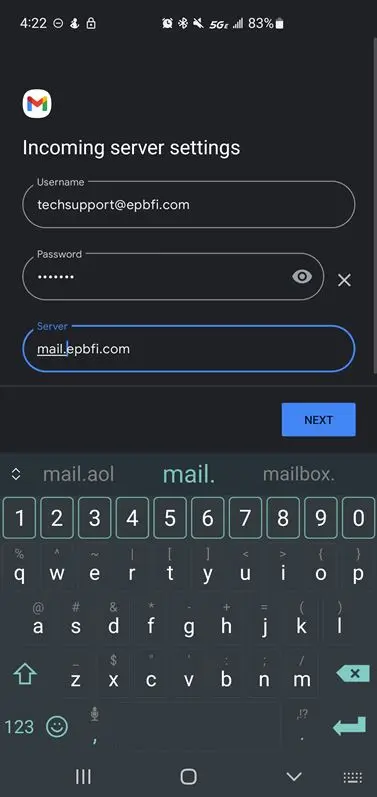
Enter the incoming server information.
- Enter the email address as the username.
- Enter the password.
- Enter the incoming server hostname.
- Click Next
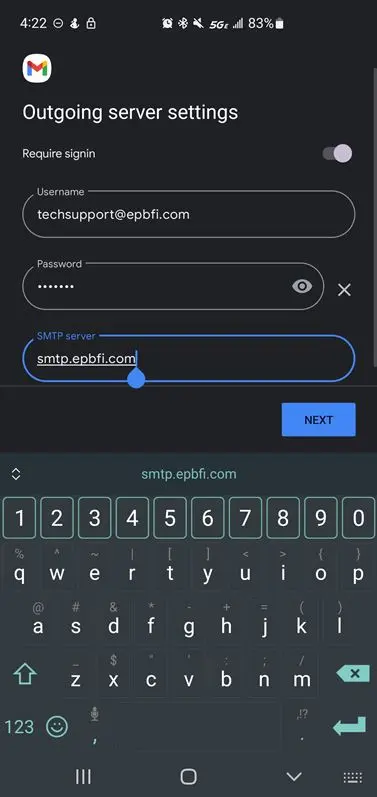
Enter the outgoing server information.
- Require signin should be pointing to the right (on).
- Enter the email address as the username.
- Enter the password.
- Enter the outgoing server hostname.
- Click Next
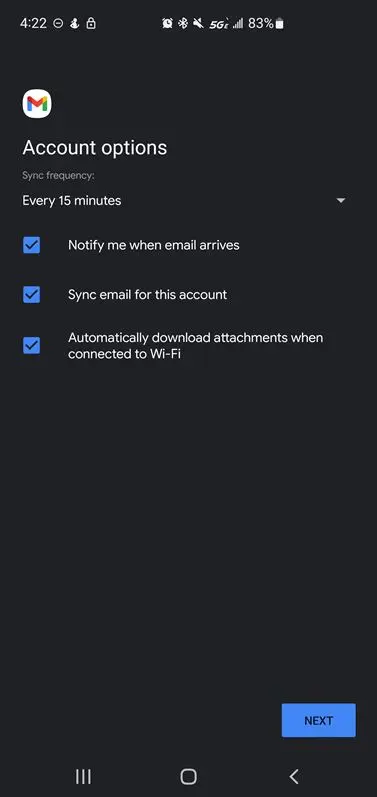
Enter the sync settings
These settings are entirely up to the customer's preference.
Click next once set.
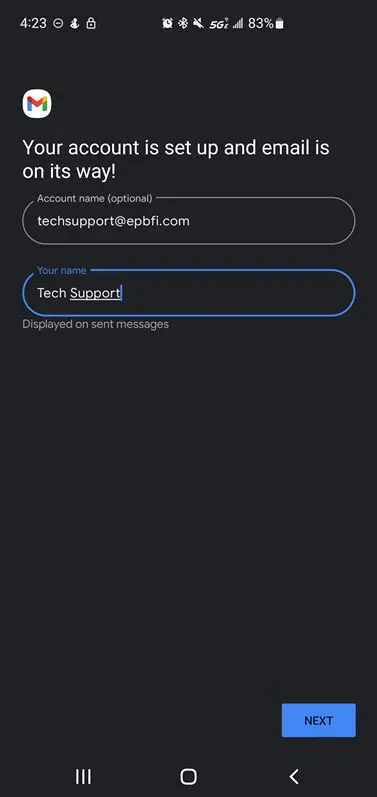
Enter the display settings
These settings are entirely up to the customer's preference.
- Account name is how it shows up on the list of emails (the first thing we clicked on).
- Your name is what people see when they get an email from you instead of just your email address.
- Click Next and you should be finished.
Update Password
Startup
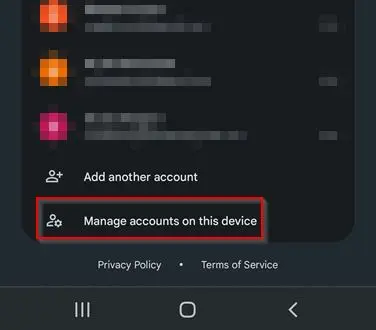
Open the profile/accounts screen.
- Click on the profile circle. (initials or picture at the top)
- Click manage accounts on this device.
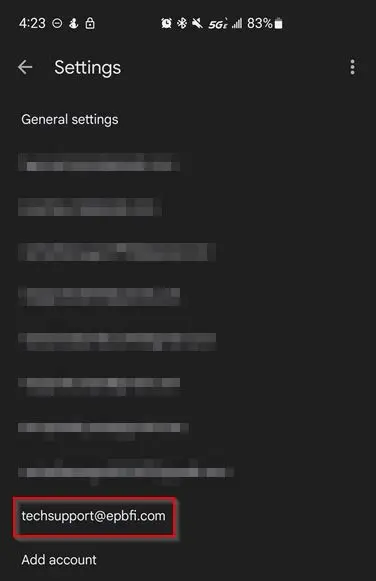
Choose the EPB account.
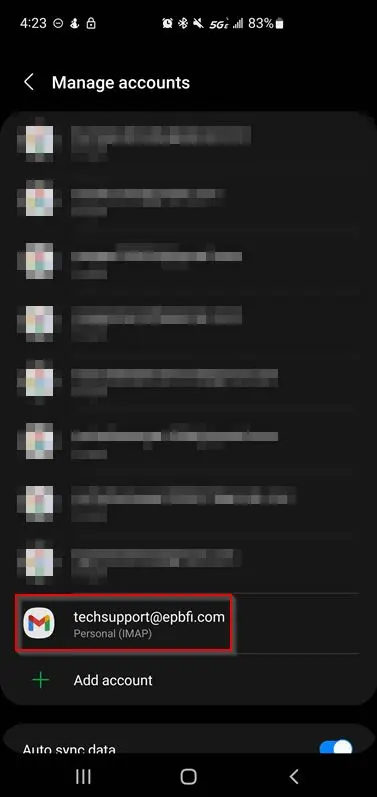
Click account settings.

Choose the EPB account (again) from this list.
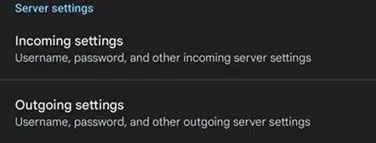
Click on Incoming server settings at the end of the list.
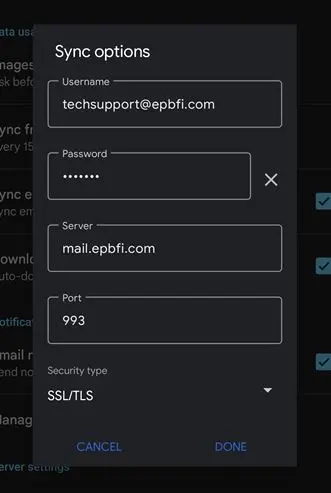
Set incoming server settings
- Enter the email address as username.
- Enter the password.
- Enter the incoming host name.
- Set the port.
- Set the security type.
- Click Done at the bottom right of this box.
Click on Outgoing server settings (you may have to scroll down to see it)
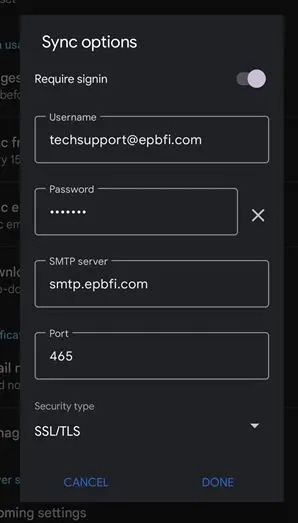
Set outgoing server settings
- Make sure Require signin is turned on (pointing to the right).
- Enter the email address as username.
- Enter the password.
- Enter the outgoing host name.
- Set the port.
- Set the security type.
- Click Done at the bottom right of this box.